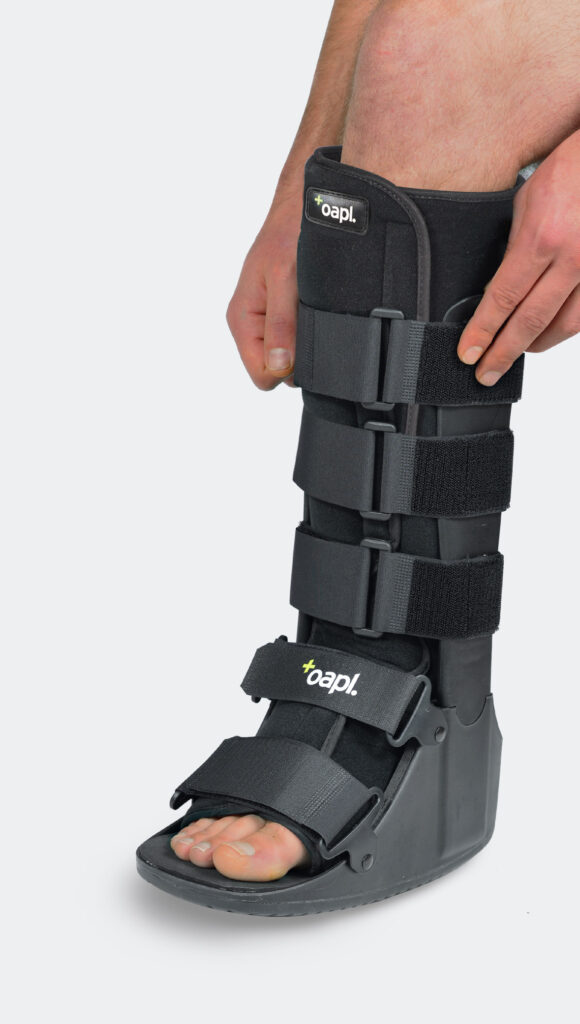
oapl Walker – A Guide for Patients
Introduction |
||
| You have been fitted with an oapl Walker to control the alignment and reduce the movement of the bones and joints in your lower leg and foot. Patients are usually fitted with a walker due to one of the following: • Post operatively due to foot or ankle surgery. • To restrict movement following soft tissue injuries of the ankle. • Fractures and/or Achilles tendon repair or injury. |
 |
WEARING YOUR WALKER
A walker is designed to immobilise the foot and ankle in the same way that a below knee plaster cast would. However, it has the benefit of allowing you to put weight on the limb and can be removed for showering and physiotherapy. As a general rule the walker should stay on at all times (including bed, except when showering, unless otherwise instructed by your specialist or Orthotist.
APPLICATION
Your Orthotist will fit the walker to your injured limb. It will be set up in the ideal position for your injury.
 |
 |
 |
||
STEP 1 |
STEP 2 |
STEP 3 |
||
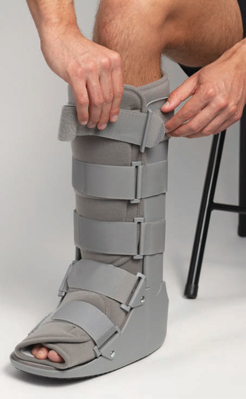
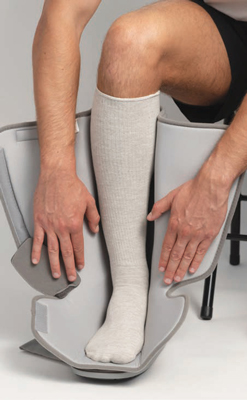
| Leave the liner attached to the plastic uprights. Put your leg into the walker ensuring that your heel is right to the back and you can feel it contacting with the bottom. Ensure your toes are not hanging over the end. | Close the liner firmly around your calf and across the top of your foot. | Fasten the straps. Begin with the strap over the ankle area. Feed the strap through the “D” ring and pull it firmly. Use the pads provided under this to prevent rubbing. | ||
|
|
||||
 |
 |
|||
STEP 4 |
STEP 5 |
|||
| Next, fasten the strap across the midfoot, closest to the toes, followed by the remaining straps on the leg. Ensure that all straps are secured firmly. They should not cause any discomfort but need to be firm in order to immobilise your foot and ankle. If you are unsure about how firm they need to be, get your Orthotist to mark the straps so that there is no doubt. | To remove the walker: 1. Undo all the straps in any order making sure that you stick the velcro back on itself. This prevents it from getting tangled and sticking to everything else (i.e. clothes). 2. Open up the liner down the front of your leg. 3. Open up the liner over the foot. 4. Lift your leg out leaving liner attached to the plastic base and uprights. |
For replacement liners and accessories, shop online at Walkers & Accessories – BraceAble.com.au
SHOWER SEAL |
||
| The shower seal is a reusable waterproof protector. It is a self-supporting garment which prevents the penetration of water to plaster casts, walker boots and wound dressings on arms or legs during showering. |  |
EVENUP |
||
| An EvenUp can be used to help with accommodating the height of the walker sole. Please talk to your orthotist to see if the EvenUp is right for you. |  |