oapl High Spinal Brace – A Guide for Patients
INTRODUCTION |
||
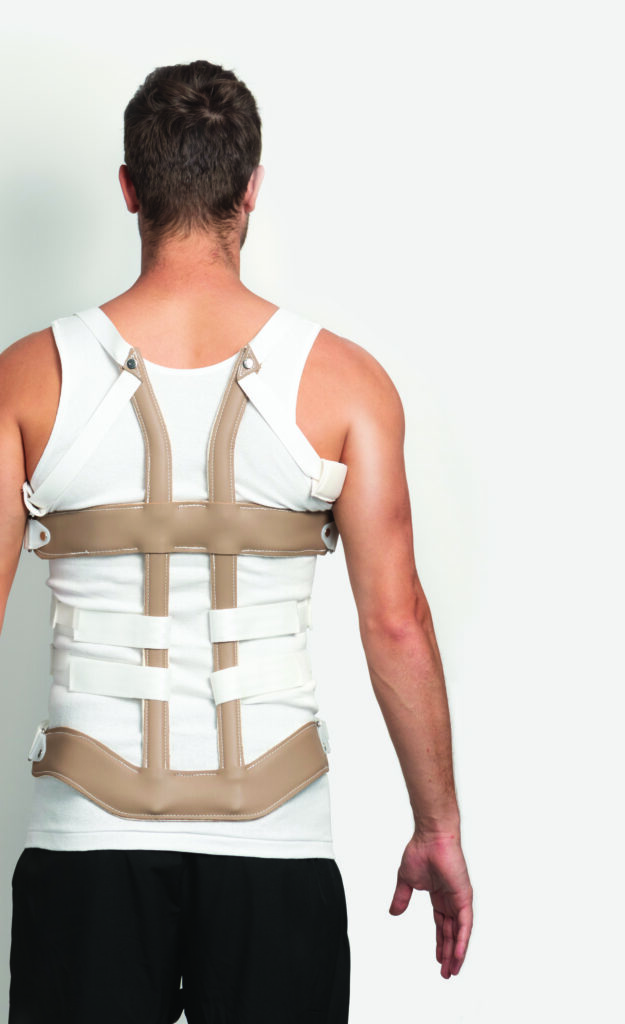
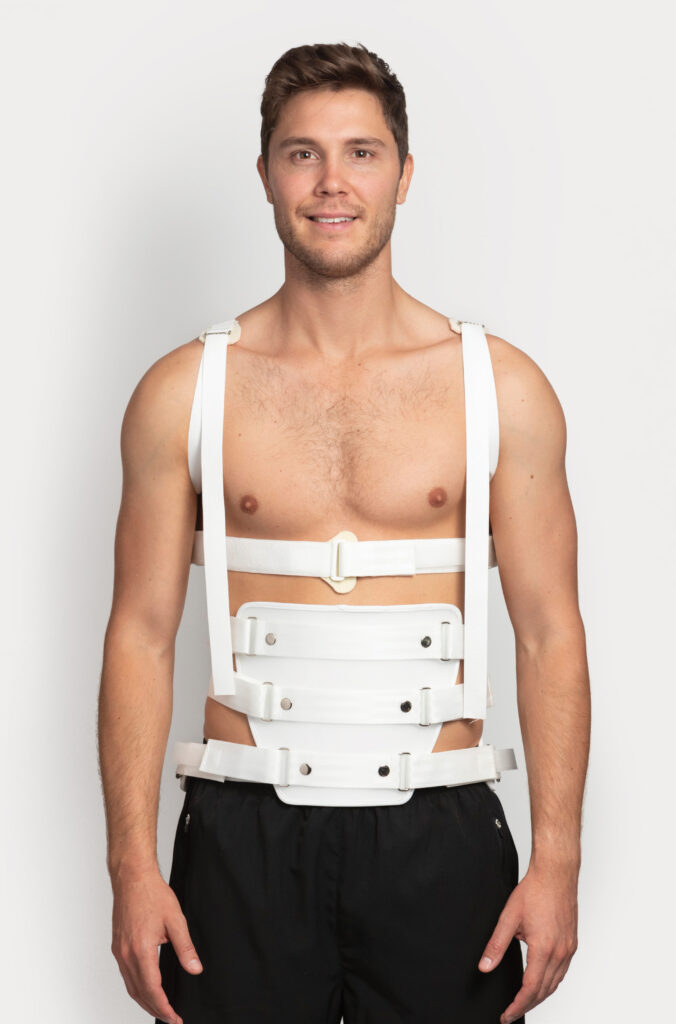
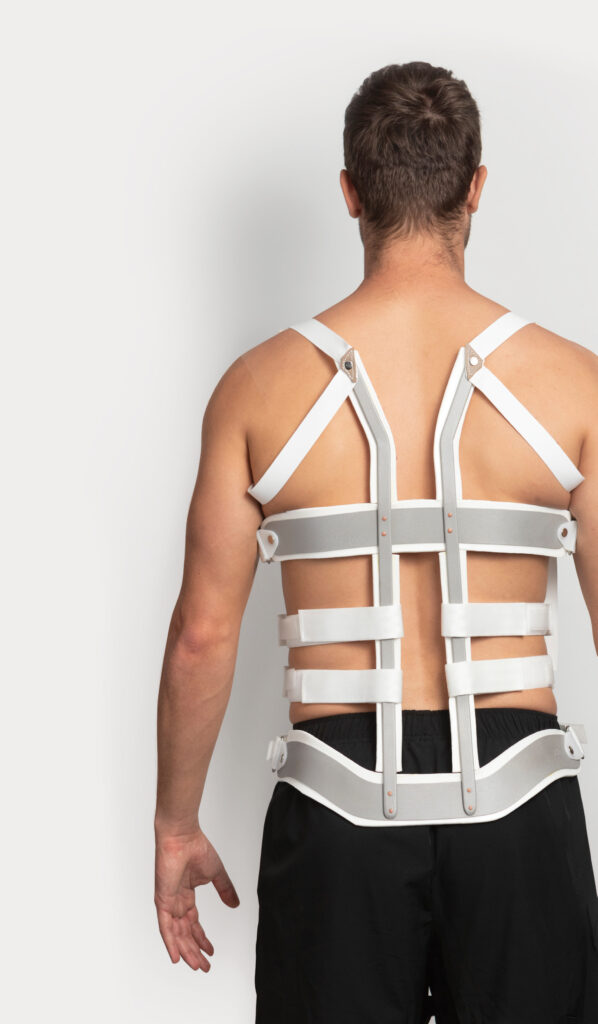
| This type of brace is designed to control the upper and lower regions of the spinal column. The brace is made of aluminium and lined with padded felt and leather.
A set of Velcro straps attached to an abdominal bib at the front of the brace secure it into position. An orthotist will contour the aluminium frame to the shape of your spine. Applying with help from another person is done by the patient holding brace in correct position whilst the companion does up the Velcro straps. Applying without help is best done by the patient positioning a mirror close to the bed. Sit on the edge of the bed to secure the brace and use the mirror to ensure it is sitting straight and symmetrical. |
 |
WHEN TO WEAR
This brace is designed to support your spine whilst standing, sitting and walking.
Your spinal brace should not be worn to bed or in the shower. If your specialist requires you to wear the brace when in the shower, you will need to be fitted with a separate brace for showering.
Your specialist will decide the duration of time for wearing this brace.
WHEN TO WEAR |
||||
| This brace is designed to support your spine whilst standing, sitting and walking.
Your spinal brace should not be worn to bed or in the shower. If your specialist requires you to wear the brace when in the shower, you will need to be fitted with a separate brace for showering. Waterproof shower braces are available for unstable or complex fractures, they are made of aluminium and lined with foam for comfort. Your specialist will decide the duration of time for wearing this brace. |
 |
Shower Brace |
||
GENERAL CARE
Wearing a cotton singlet or T-shirt under your brace will help keep the felt lining clean and make the brace as comfortable as possible against your skin. Regular changes of the singlet can help combat perspiration problems.
Please ask an oapl orthotist about our torso interfaces if you require one.
Your brace cannot be washed. If your brace becomes soiled, sponge clean with a damp cloth.
If any of the metal bands are digging in, do not try and modify the metal frame yourself. If you are uncomfortable, consult with an oapl orthotist.
Do not place any padding or foam under your brace as it may create a pressure area. If you are uncomfortable, consult with your orthotist.
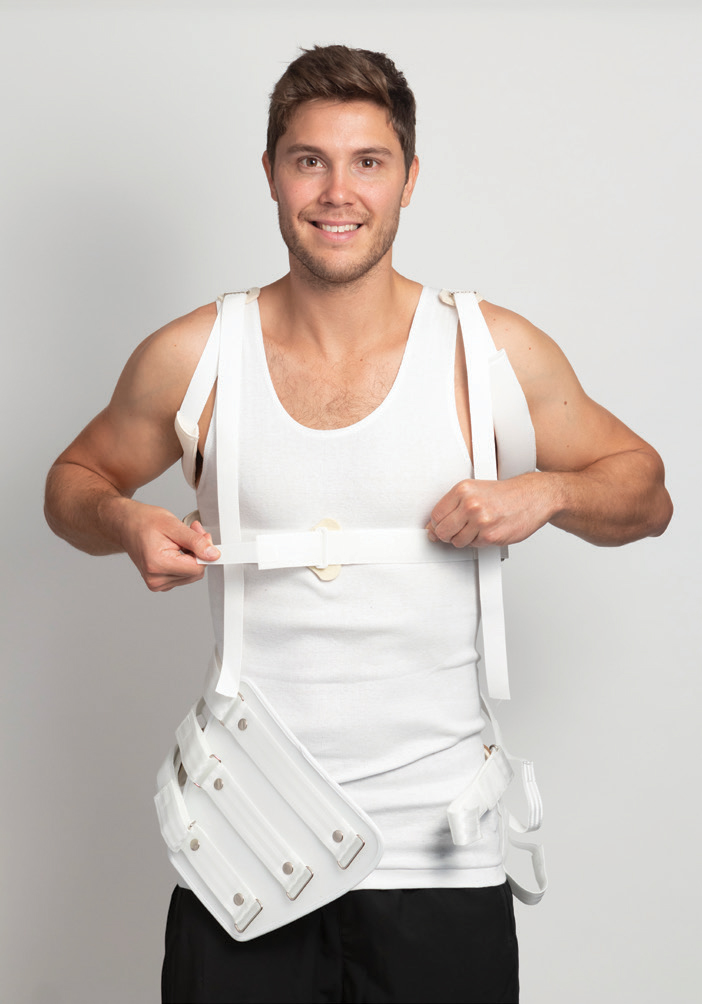
APPLICATION
Once your brace is fitted and is comfortable, your orthotist will mark all the straps so that each time you put the brace on it will be tightened to the correct position.
Choose one side of the brace that you will always use to open and close the Velcro straps. The other side remains untouched as a guide to how your chosen side should look when positioned correctly.
 |
 |
 |
||
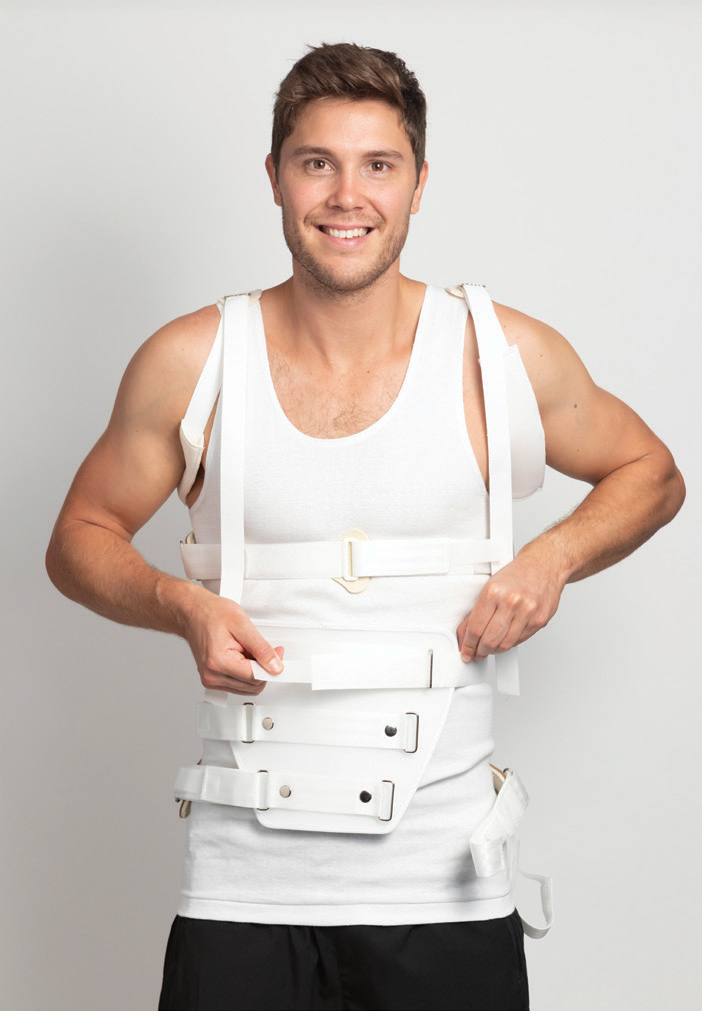
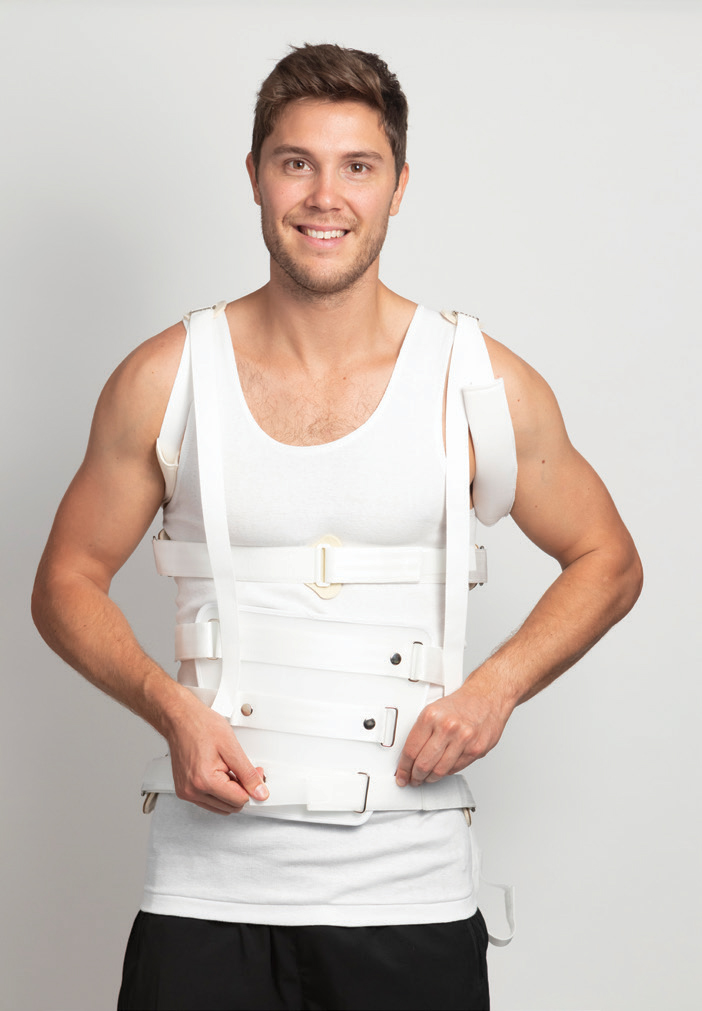
STEP 1 |
STEP 2 |
STEP 3 |
||
| Begin by sliding the shoulder straps on like a back pack. Have them fitting comfortably but not so tight that they pull the brace up too high on your back.
Start with the chest strap. Apply the strap above or below the breast tissue and firm enough to hold the brace to the body. Ensure the first strap is in a comfortable position. |
Then secure the three straps that attach to the abdominal bib, making sure the bib is low down on the stomach. If the bib is too high it will cut into the breast tissue. | The straps can be numbered and should be done up in sequence. | ||
 |
 |
|||
STEP 4 |
STEP 5 |
|||
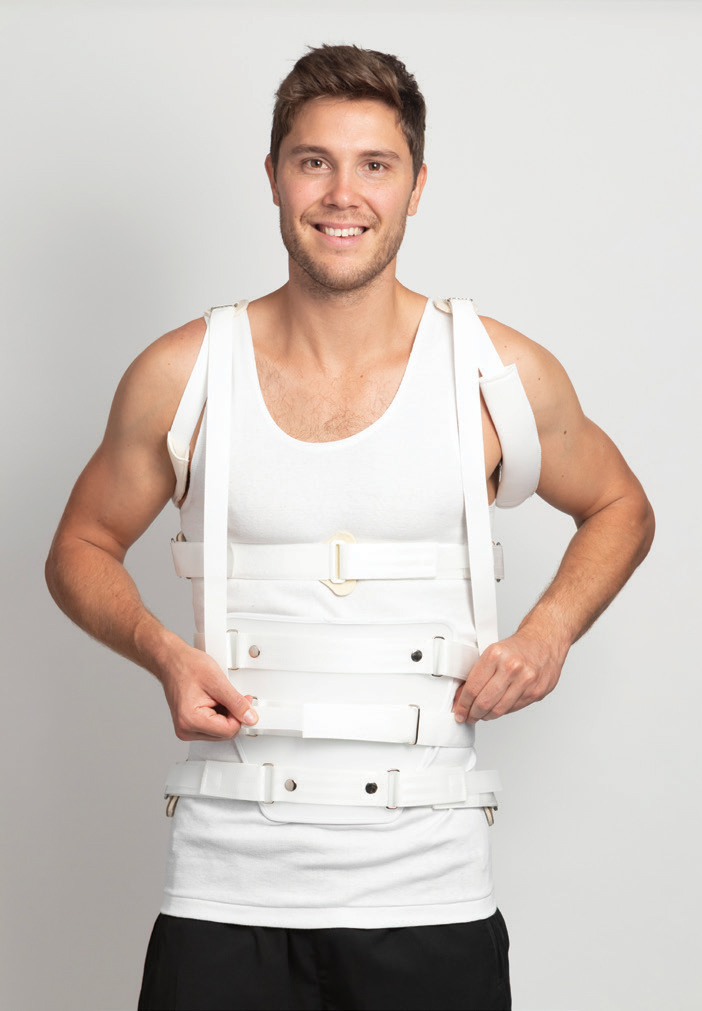
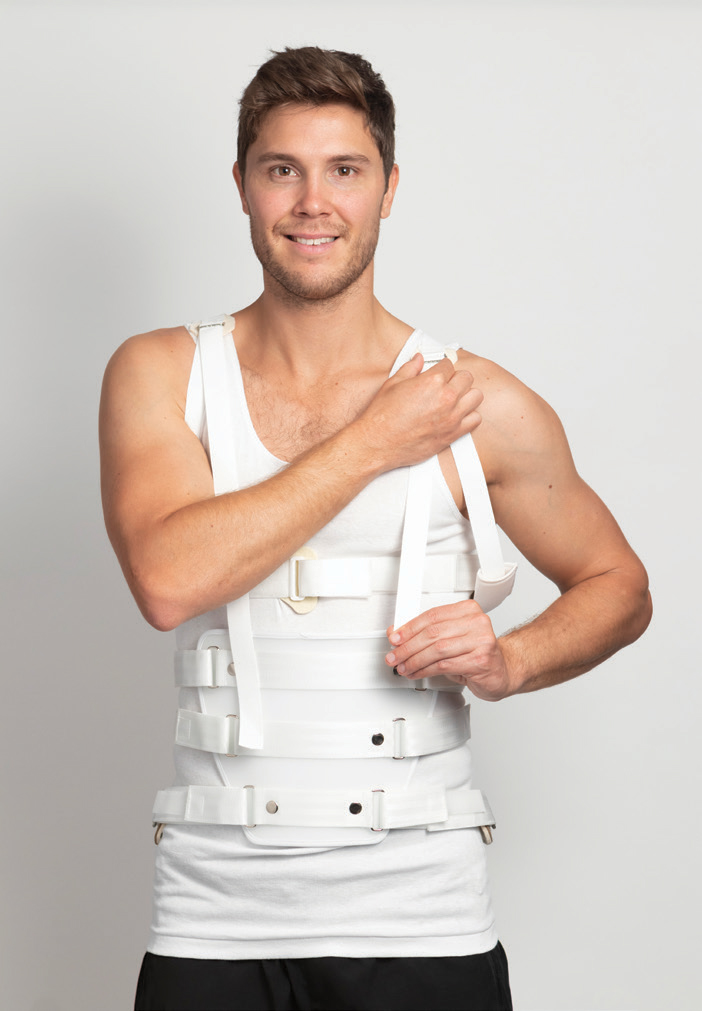
| If possible, apply your brace in front of the mirror to ensure you have it sitting straight and symmetrical. | Once all the straps are in place, check the position of the aluminium frame is low down over the pelvis almost touching the seat you are sitting on (about 3 finger widths betwee the seat and the bottom edge of the brace).
If the pelvic bands are not sitting in line with your ribs and hips and are digging in, your brace could be sitting too high or too low. Finally, the shoulder straps need to be secured/fastened. If you are experiencing excessive pressure in your armpit, contact an oapl orthotist. |